

It is officially Fall. The morning air is crisp while the afternoons are still reminiscent of summer. Pumpkin patches are open. The fronts of our grocery stores are lined with pumpkins and gourds. It is pumpkin decorating time folks. I would not recommend carving any yet for longevity purposes, but decorating these orange beauties can begin now.
I have always been drawn to the little pumpkins. Its the same logic in paying for anything tiny. It is just so darn adorable to have something you love in a smaller version. I have full intentions of taking a day trip to Sweet Berry Farms pumpkin patch in my near to immediate future, but in the mean time as I begin to adorn my house with fall decor, our grocer supplied me with a wide array of shapes, colors, and sizes of pumpkins.
Because I tend to go overboard with most holidays, this post is one (of two) for pumpkin decorating ideas. These are easily executed embellished pumpkins to add to your tables, porches, arrangements, and wreathes. If you would like to have one that last you can also use fake pumpkins. They sell them at many stores all over.
Supplies:
- Pumpkins (any shape, any size)
- Spray paint or acrylic paint (varied colors)
- Glitter
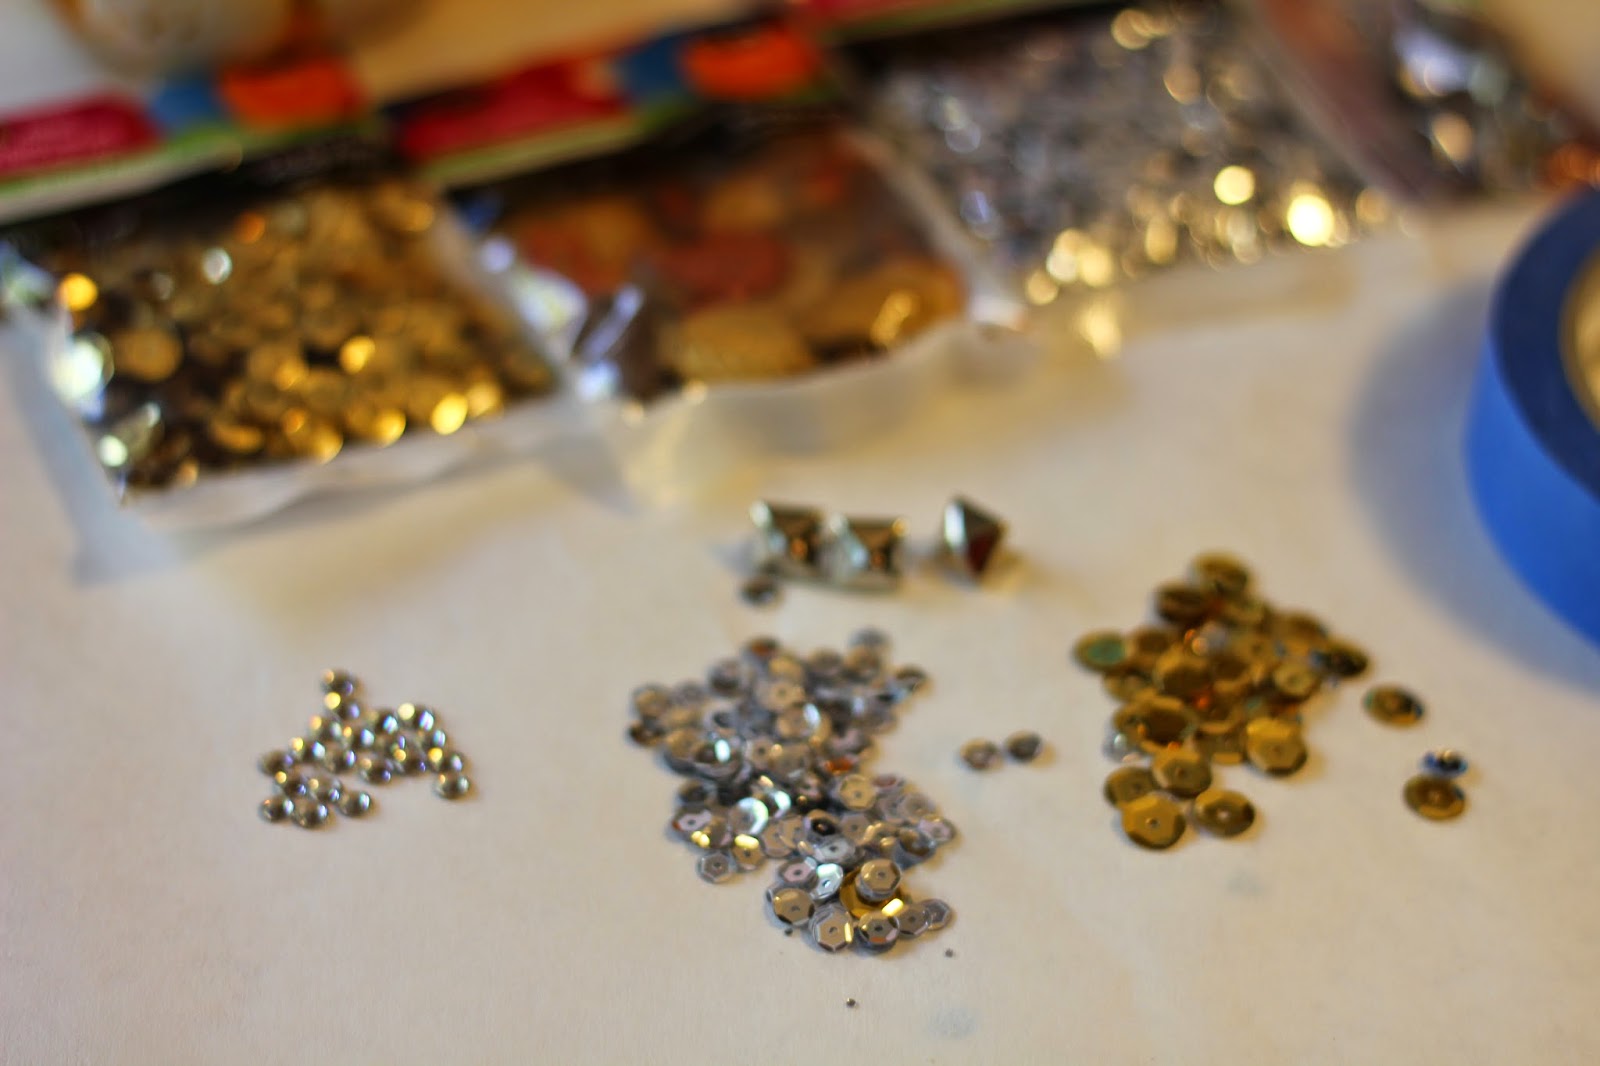
- Metal Stud embellishments
- Tacky Glue or Super Glue
- Rhinestones
- Painter's tape
- Straight-edge or ruler
- Puff Paint or paint pen

Choose the pumpkins you would like to garnish. I chose some small and medium pumpkins. I had purchased a few white pumpkins. I decided these beauties should stay white because they are so naturally beautiful. I was also told that if you get three white pumpkins and leave them uncarved (one small, one medium, and one large), they will last until December and can be stacked into a snowman when the season arrives. I decided to leave these white and decorate them with sequins and jewels so that this transition can happen more readily when I choose. You take the pumpkins and, using the painter's tape, section off the stem portion. Now choose the color you prefer and paint the base color of your pumpkin. If you are doing this as a craft with kids, I would recommend hand painting with acrylic paint and foam brushes rather than spray paint. This protects from the toxic fumes and is a fun step in the process as well.

After allowing your pumpkins to dry, you will want to choose an inspiration. Mine ranged from Cinderella's carriage to a rocker glam pumpkin. Choose your design and go with it. My first one was fall inspired. I purchased leaf shaped sequins at my local craft store. You can find them on Amazon as well. I just started adding them to the top portion of my pumpkin and trailed them down toward the base where I had a pile of leaves. This fallen leaves design resembles that of Shell Silverstein's The Giving Tree. I just love the finished product. The morning sun will reflect off the sequins beautifully. To find these leaf shaped sequins, you can visit Amazon: Leaf Sequins 7/8" 50/Pkg-Gold

My next pumpkin was my Cinderella inspired one. I had painted a small one black. Taking my Puff paint (the color was metallic gold), I just started doodling gold swirls in random design. I then took the Super Glue and embellished the curves with rhinestones.

This rocker glam pumpkin is of my favorites this go around. I sprayed this one a dark teal color. Then I used leather stud embellishments and rhinestones in a linear formation. If I had this one to do over, I would like allow the teal paint to dry a tad longer, and I would use a ruler to more equally space the lines. My excitement got the best of me, and I started too quickly. The studs easily press into the rounder pumpkins. Their markings are small in the case that you need to rearrange. Then I strategically glued the rhinestones in the windows of the space between the studs. Overall the product is fabulous though, definitely my favorite so far.

My final pumpkin for today's post is my glitter pumpkin. This one is a must for me every season. I sprayed a pumpkin baby blue. After allowing it to dry I brushed on some glue, and then adorned it with gold glitter. This one is fun to decorate with glue in varied shapes. You can polka dot you glue and then add the glitter or add your initial and then glitter away. Adding the sparkle will yield a gorgeous table decoration for you. Once you have glittered be sure to shake off the excess outside or onto a folded piece of paper in order to save the excess. My husband is an advocate of shaking these outdoors, so that he doesn't end up wearing glitter every time he leaves the house. Though I think the sparkle just adds to his handsome face.

Happy decorating folks! Post #2: Colorful Pumpkin Decor is coming this week as well! Keep an eye out for it.


No comments :
Post a Comment